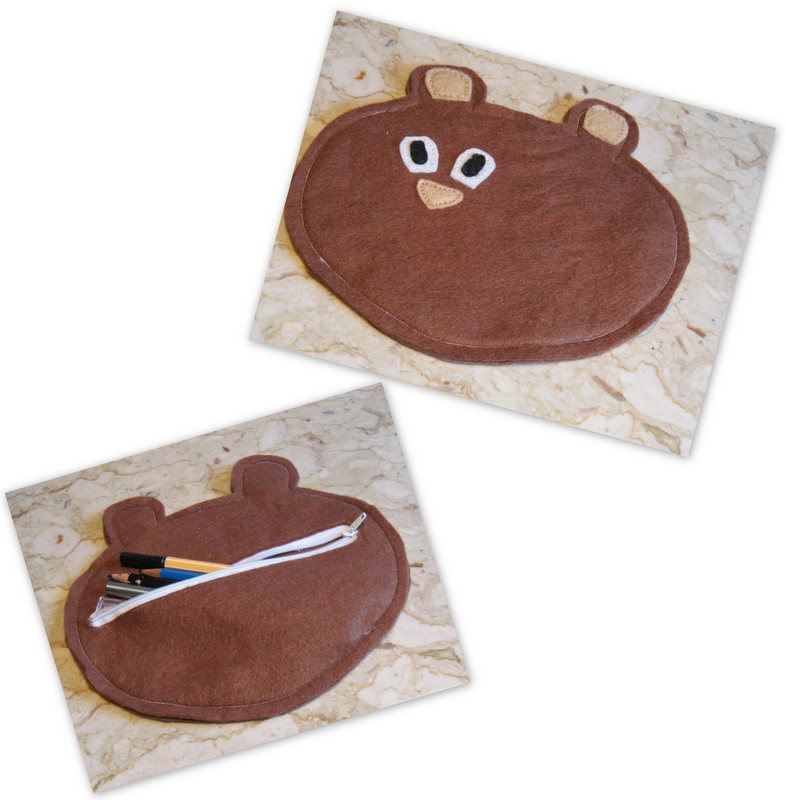
Remember last post I showed you my Hello Kitty Pouches, well today I am sharing the tutorial on how to make them, but instead of a Hello Kitty, it is a teddy bear pouch, because, first I don’t want to see another one and second I respect Sanrio’s trademarking and that stuff. The Teddy Bear is my design so feel free to use it, if you do I would love to see it, you can now add your images to the new Flickr Group.
You will need:
- Brown felt
- Beige, black and white felt scraps
- Embroidery floss in matching colors
- A zipper
- The pattern [ ZipperedTeddyBearPouch Pattern ]
- An hour
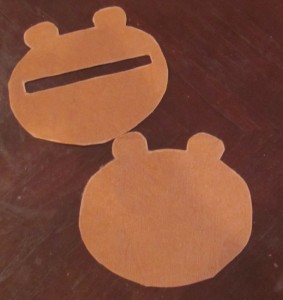
| Cut out all the pattern pieces. For the face remember to cut out the zipper slit in only one of the pieces |
 |
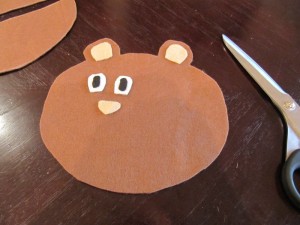
| Place the ears and eyes and move them around until you get a face you like. |
 |
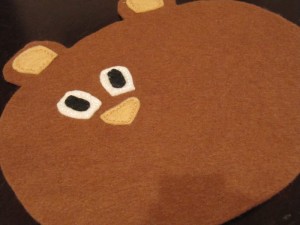
| Using embroidery floss back stitch them onto the face. You could glue them on, but I prefer the hand sewing. |
 |
| Pin the zipper underneath the face and pin them together. Very carefully try pulling the zip open and closed to make sure that it is pinned correctly. |
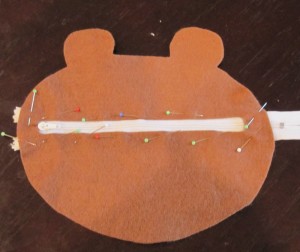 |
| Sew all the way around it. You can sew right through the zipper. |
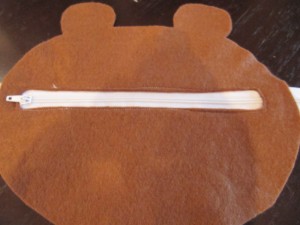 |
| Trim off any extra length of zipper |
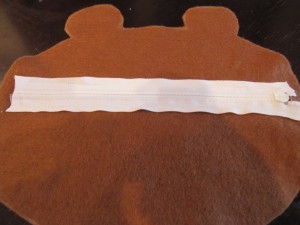 |
| Place the two face pieces wrong sides together and sew all around. ? |
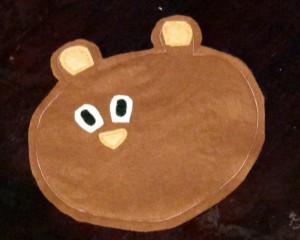 |
| And voila! You have a new zippered teddy bear pouch that you can use as a pencil case, makeup case |
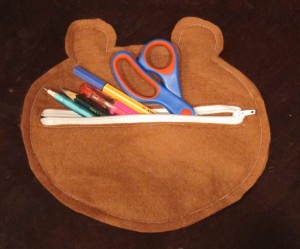 |
|
|
Related


Cute tutorial!
Thank you 🙂
So cute! Thanks for the tute 🙂
You are welcome, totally customizable too. And felt is available everywhere these days