I have been wanting to dye my own yarn for a long time, but always felt intimidated. I am not sure why I felt intimidated, I thought it would be too difficult, time consuming, expensive and messy. Well it is messy and a little time consuming but it is not that difficult or expensive. At least not the way I did it.
I had this ball of white Giza cotton that is fingering weight and I had never used it because it was really white and I had no idea what to do with it. A little trip to my local craft store and I was armed with a small tin of purple dye and a sachet of salt/fixer. Originally I wanted to use food coloring or Kool Aid because I was worried about toxicity and ventilation but after a little research it turns out that you can only use it to dye animal fibers (not plant fibers). I ordered two skeins of sock weight undyed yarn to try it but since I could only use cotton, I used the Dylon Cold.
I am going to walk you thru how I did it. I am not an expert and still have a lot to learn.
Materials
One tin of Dylon Cold or any type of reactive dye that you can find locally.
One sachet of fixer/salt
A kitchen sink
GOOD gloves
A container to do the dying in
Plastic wrap
Sponges or brushes (if you want to dye more than one color)
The Process
Getting the yarn ready
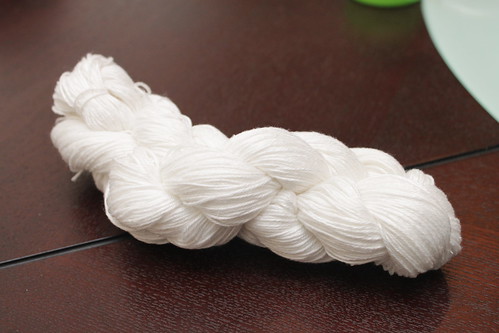
This is what a hank looks like when it is twisted, if you untwist it, it just looks like a giant doughnut.
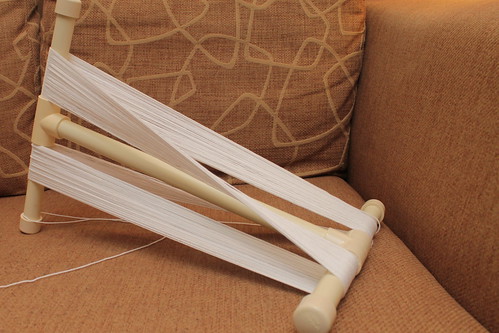
First you need to wrap your yarn into a hank without twisting it, which is basically just wrapping it in huge loops. The first time I did this I wrapped around my hands. It was exhausting and you can’t stop until you are done (no bathroom breaks) and it is really hard to get an even tension. So I went out and got myself some PVC pipes and connectors and made a DIY Niddy Noddy. Of course you could also wrap around chair backs or furniture or whatever rocks your boat. But seriously the Niddy Noddy makes it really easy. And it is so funny telling people you have a Niddy Noddy.
Then you need to tie your yarn in at least four different places so that it doesn’t get tangled while you are dying it.
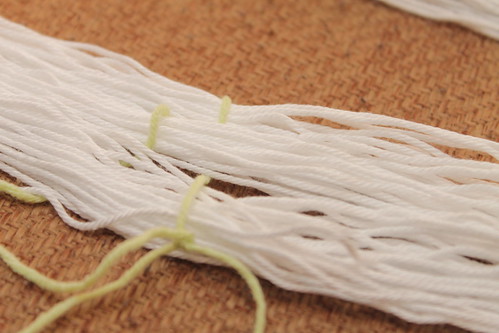
You can tie a simple knot, or weave scrap yarn around it. Use a different color for the ties so it is easier to find later.
Preparing the dye
I just added hot water to the fixer in a large glass bowl, dumped my yarn in and then added the dye. I used a bamboo skewer to stir the mix then soaked my yarn in it for an hour. You need to check the instructions on your dye to make sure you are doing it correctly because it might be different. I stirred the yarn every 15 minutes to make sure it was all getting dye. Wear good gloves when you are near the dye, I used bad plastic ones first because I didn’t want dye all over my thick kitchen gloves, turns out they were not quite good and I still have purple fingertips. The dye didn’t stick to my gloves so don’t worry about it.
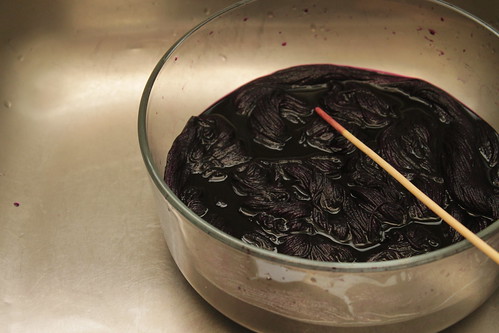
The color is so much more intense as a liquid and powder form, the colors are not as saturated on the yarn.
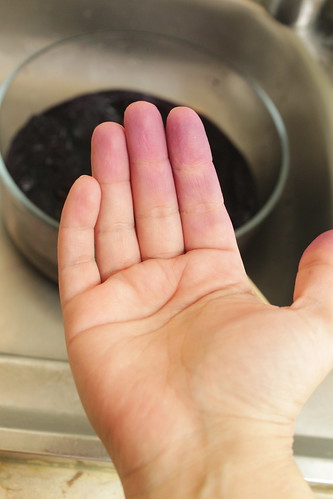
Wear gloves or you will end up with purple hands!
I would also suggest wearing an apron or an old t shirt that you wouldn’t mind getting stained because it does splash while you work.
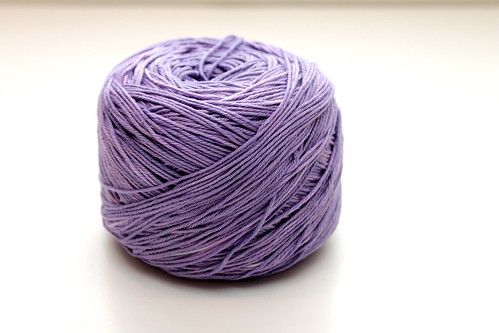
After an hour, I took it out and rinsed it with water until the water ran clear. I then hung it on a wire hanger and put it on the bathroom shower curtain rod to dry. You could dry this outside if the weather is good it would probably dry much faster, but I don’t have that option. Once it was totally dry, I wrapped it into a center pull ball and it is ready to be knit. It is not evenly dyed but that is exactly what I wanted, I was going for a kettle dye effect and while it is not that tonal, it is fine for a first try.
Experimenting
Now that you have realized that it is not so hard play with it. I wanted to try dyeing with two colors at a time.
So I got two colors and two sponge brushes.
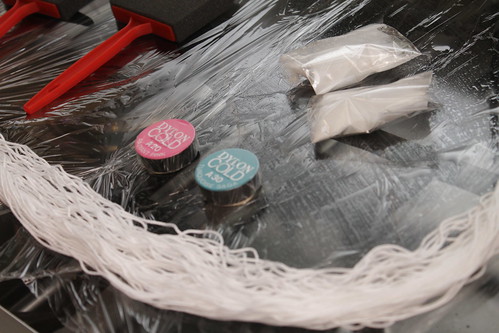
I am working on the glass cover of my oven because that is the largest counter space I have in my tiny kitchen.
I covered the work surface with plastic wrap to protect it and mixed the dyes in plastic jars this time.
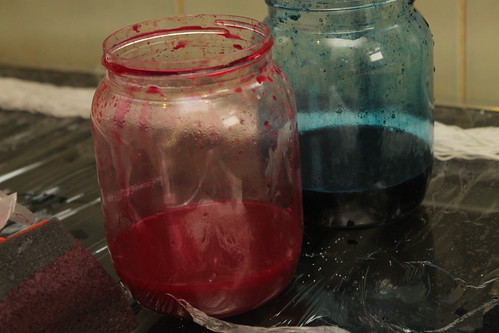
Yaaay we are going to make a mess.
I invited my four year old to help (note: you really need to supervise if you are going to do this with a child, and while it is a lot of fun for them, you need to make sure they do not try to drink the dye or paint their bodies) We dipped the sponges in the dye and painted the yarn in sections with alternating colors.
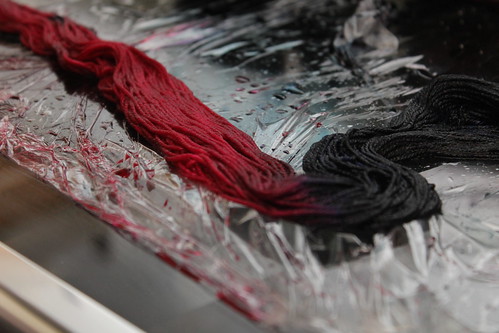
Make sure that there is dye on all the yarn strands and that it has all been soaked up well.
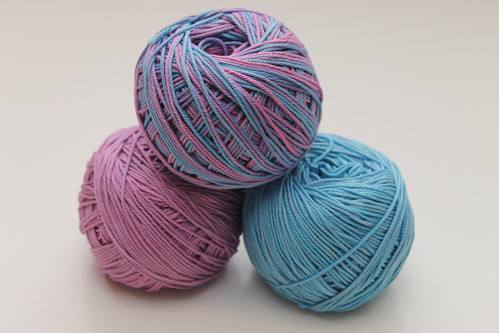
I was using pink and blue so the places where they mixed were purple.
And just like before, I left it for an hour and then rinsed until it washed clear, hung it to dry and then wrapped it into a center pull ball. I had leftover dye so I just threw in a hank in each dye jar to get two solid colors.
And enjoy your yarn.
Next up
I really want to try self striping yarn, I did a bit of research and it doesn’t seem too hard, I think I can do it. I also want to learn how to better control the saturation of colors. This is so much fun, you really need to try it.
Further reading


Beautiful-pretty- perfect.
[…] I also cast on and started knitting my hand dyed yarn. […]
[…] why we got marbles. I did one in stripes and on with the marbles. I think they turned out awesome. Dyeing stuff is something you have got to try at least once in your […]
This is fabulous, so inspiring, thanks so much for sharing.
Thanks for posting this! I have played with kool-aid and it is great fun! I am getting ready to dye with two colors for the first time and was wondering how i was going to do it. This is perfect! Thanks so much 🙂 And your yarn came out lovely!!
What yarn ball winder do you use? Thanks!
Hi Kimmy, I don’t have a ball winder, I just use a wooden Nostepine
Hi, me again! 🙂
Those are gorgeous!
Did you get the yarn here locally or did you get it online?
It is just plain white cotton Catania that I got from barakat. I did once buy wool from an etsy store that dyed really nicely too
[…] yarn I used was the cotton I had dyed last year. I still have a pink skein so I am thinking of making another headband, we will […]
I could be wrong, but I believe there is a tutorial for self striping yarn on the freshstitches.com blog/website-she is using Kool Aid to dye wool but the process would be the same for cotton and Dylon I am sure. In fact, it may be searchable under ‘dying with Kool Aid’ on her site. Have fun and good luck! Can’t wait to see your results!
Thanks, I have done some research and have more or less figured out how it is done. I just need to buy the white yarn and some dyes and give it a shot
I have been looking for a decent tutorial for ages for hand dying threads, I am a cross stitcher and a cross stitch designer and really want to try and get my own colours (in variants) for some blackwork patterns I have designed but was to scared to ‘jump in feet first’ as they say. Your tutorial has given me the confidence to do just that x
It is really a great tutorial for beginners. I was looking for this type of tutorial to dye my cotton yarn. Today, I found your tutorial through Google, which seems to be very useful. Actually, my cosuin has given me unused yarn in light blue as a gift. But, I don’t like blue color, so I want to change its color into purple, now I am thinking to dye in purple color after reading your post, so, I will use your procedure. Thanks for sahring!
plr
dddd
I think that before taking activity for kitchen remodeling you ought to do a deep research upon it so that you spend your money in the right direction. Visit my tumblr to find ideas.